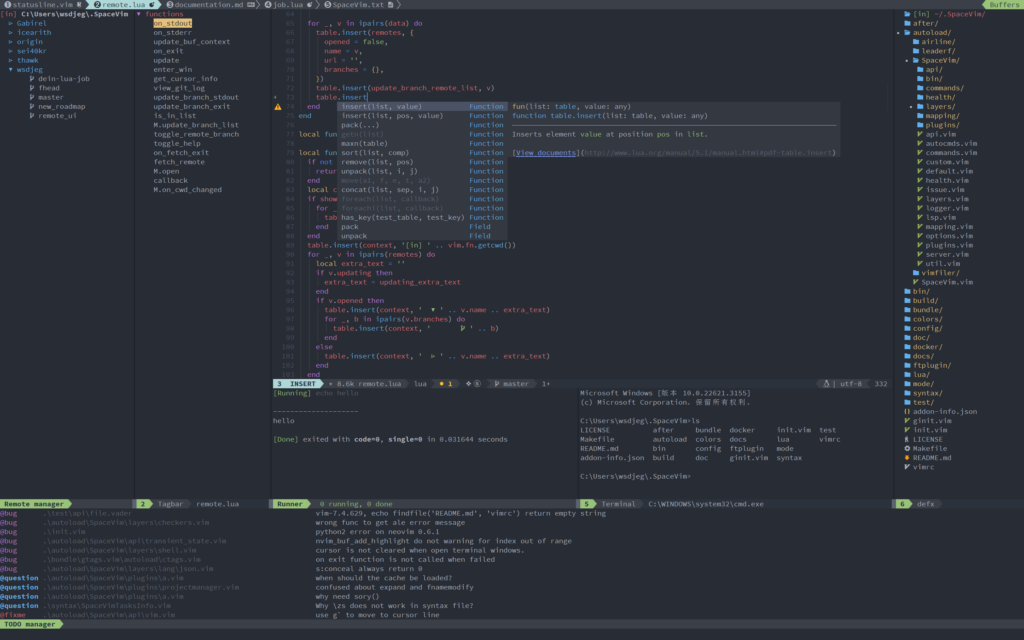
Why Choose Neovim and SpaceVim?
Neovim brings a plethora of features to developers, including:
Asynchronous Plugins: Faster performance without blocking.
Extensibility: Lua scripting support for custom plugins.
Active Development: Frequent updates and new features.
SpaceVim complements Neovim with:
Pre-configured Modules: Save time with pre-built configurations.
Rich Features: Integrated file management, Git, and more.
Customizability: Tailor the environment to your workflow.
Step 1: Install Neovim on macOS
To install Neovim, use Homebrew, a popular package manager for macOS. After installation, verify the setup to ensure Neovim is correctly installed on your system.
Step 2: Install SpaceVim
SpaceVim simplifies configuring Neovim. Use the official SpaceVim installation script to set it up on your macOS. The installation will automatically configure the required files.
Step 3: Install a Plugin Manager
SpaceVim uses dein.vim, a fast and minimal plugin manager. Open Neovim and run the command to initialize and install the default SpaceVim plugins.
Step 4: Configure SpaceVim
SpaceVim provides a configuration file located at .SpaceVim.d/init.toml for custom setups. This file allows you to add modules, plugins, and other settings to personalize your development environment.
Example Configuration
Add layers for Python support, Git integration, and autocompletion. You can also specify custom plugins to extend functionality.
Step 5: Add a Color Scheme
Enhance your Neovim experience by adding a color scheme such as “gruvbox” to the configuration file. Reload the settings to apply changes.
Step 6: Map Essential Shortcuts
Neovim’s efficiency lies in its customizability. Define key mappings in the configuration file to speed up common actions like file searching or opening tools.
Step 7: Install Language Servers
Language servers enable advanced code completion and linting. Install servers for your programming languages and configure them in the SpaceVim setup to enhance your coding capabilities.
Step 8: Test Your Setup
Launch Neovim and explore its features. Use custom shortcuts, navigate the file explorer, and experience autocompletion and syntax highlighting. This setup transforms Neovim into a robust development tool tailored to your needs.
Conclusion
With Neovim and SpaceVim, your macOS text editor becomes a powerful IDE-like environment. By following these steps, you can enhance productivity and streamline your development workflow. Happy coding!
Share this:
- Click to share on Facebook (Opens in new window) Facebook
- Click to share on X (Opens in new window) X
- Click to share on LinkedIn (Opens in new window) LinkedIn
- Click to share on Reddit (Opens in new window) Reddit
- Click to share on Pinterest (Opens in new window) Pinterest
- Click to share on Pocket (Opens in new window) Pocket
- Click to share on WhatsApp (Opens in new window) WhatsApp
- Click to email a link to a friend (Opens in new window) Email

